Caroline Hart4 Commentson Photos from Cycle for Sight: Cycling with a side of fun and fundraising
As usual, Cycle for Sight was a day full of sunshine, good food, fitness and a key source of fundraising for Enchanted Hills Camp as we rebuild!
For over a decade, this event, co-presented with the Rotary Club of Napa, has brought together blind community members, blind athletes and family and friends alike. Thank you to all the members of Team Enchanted Hills, volunteers and donors for making this year a success!
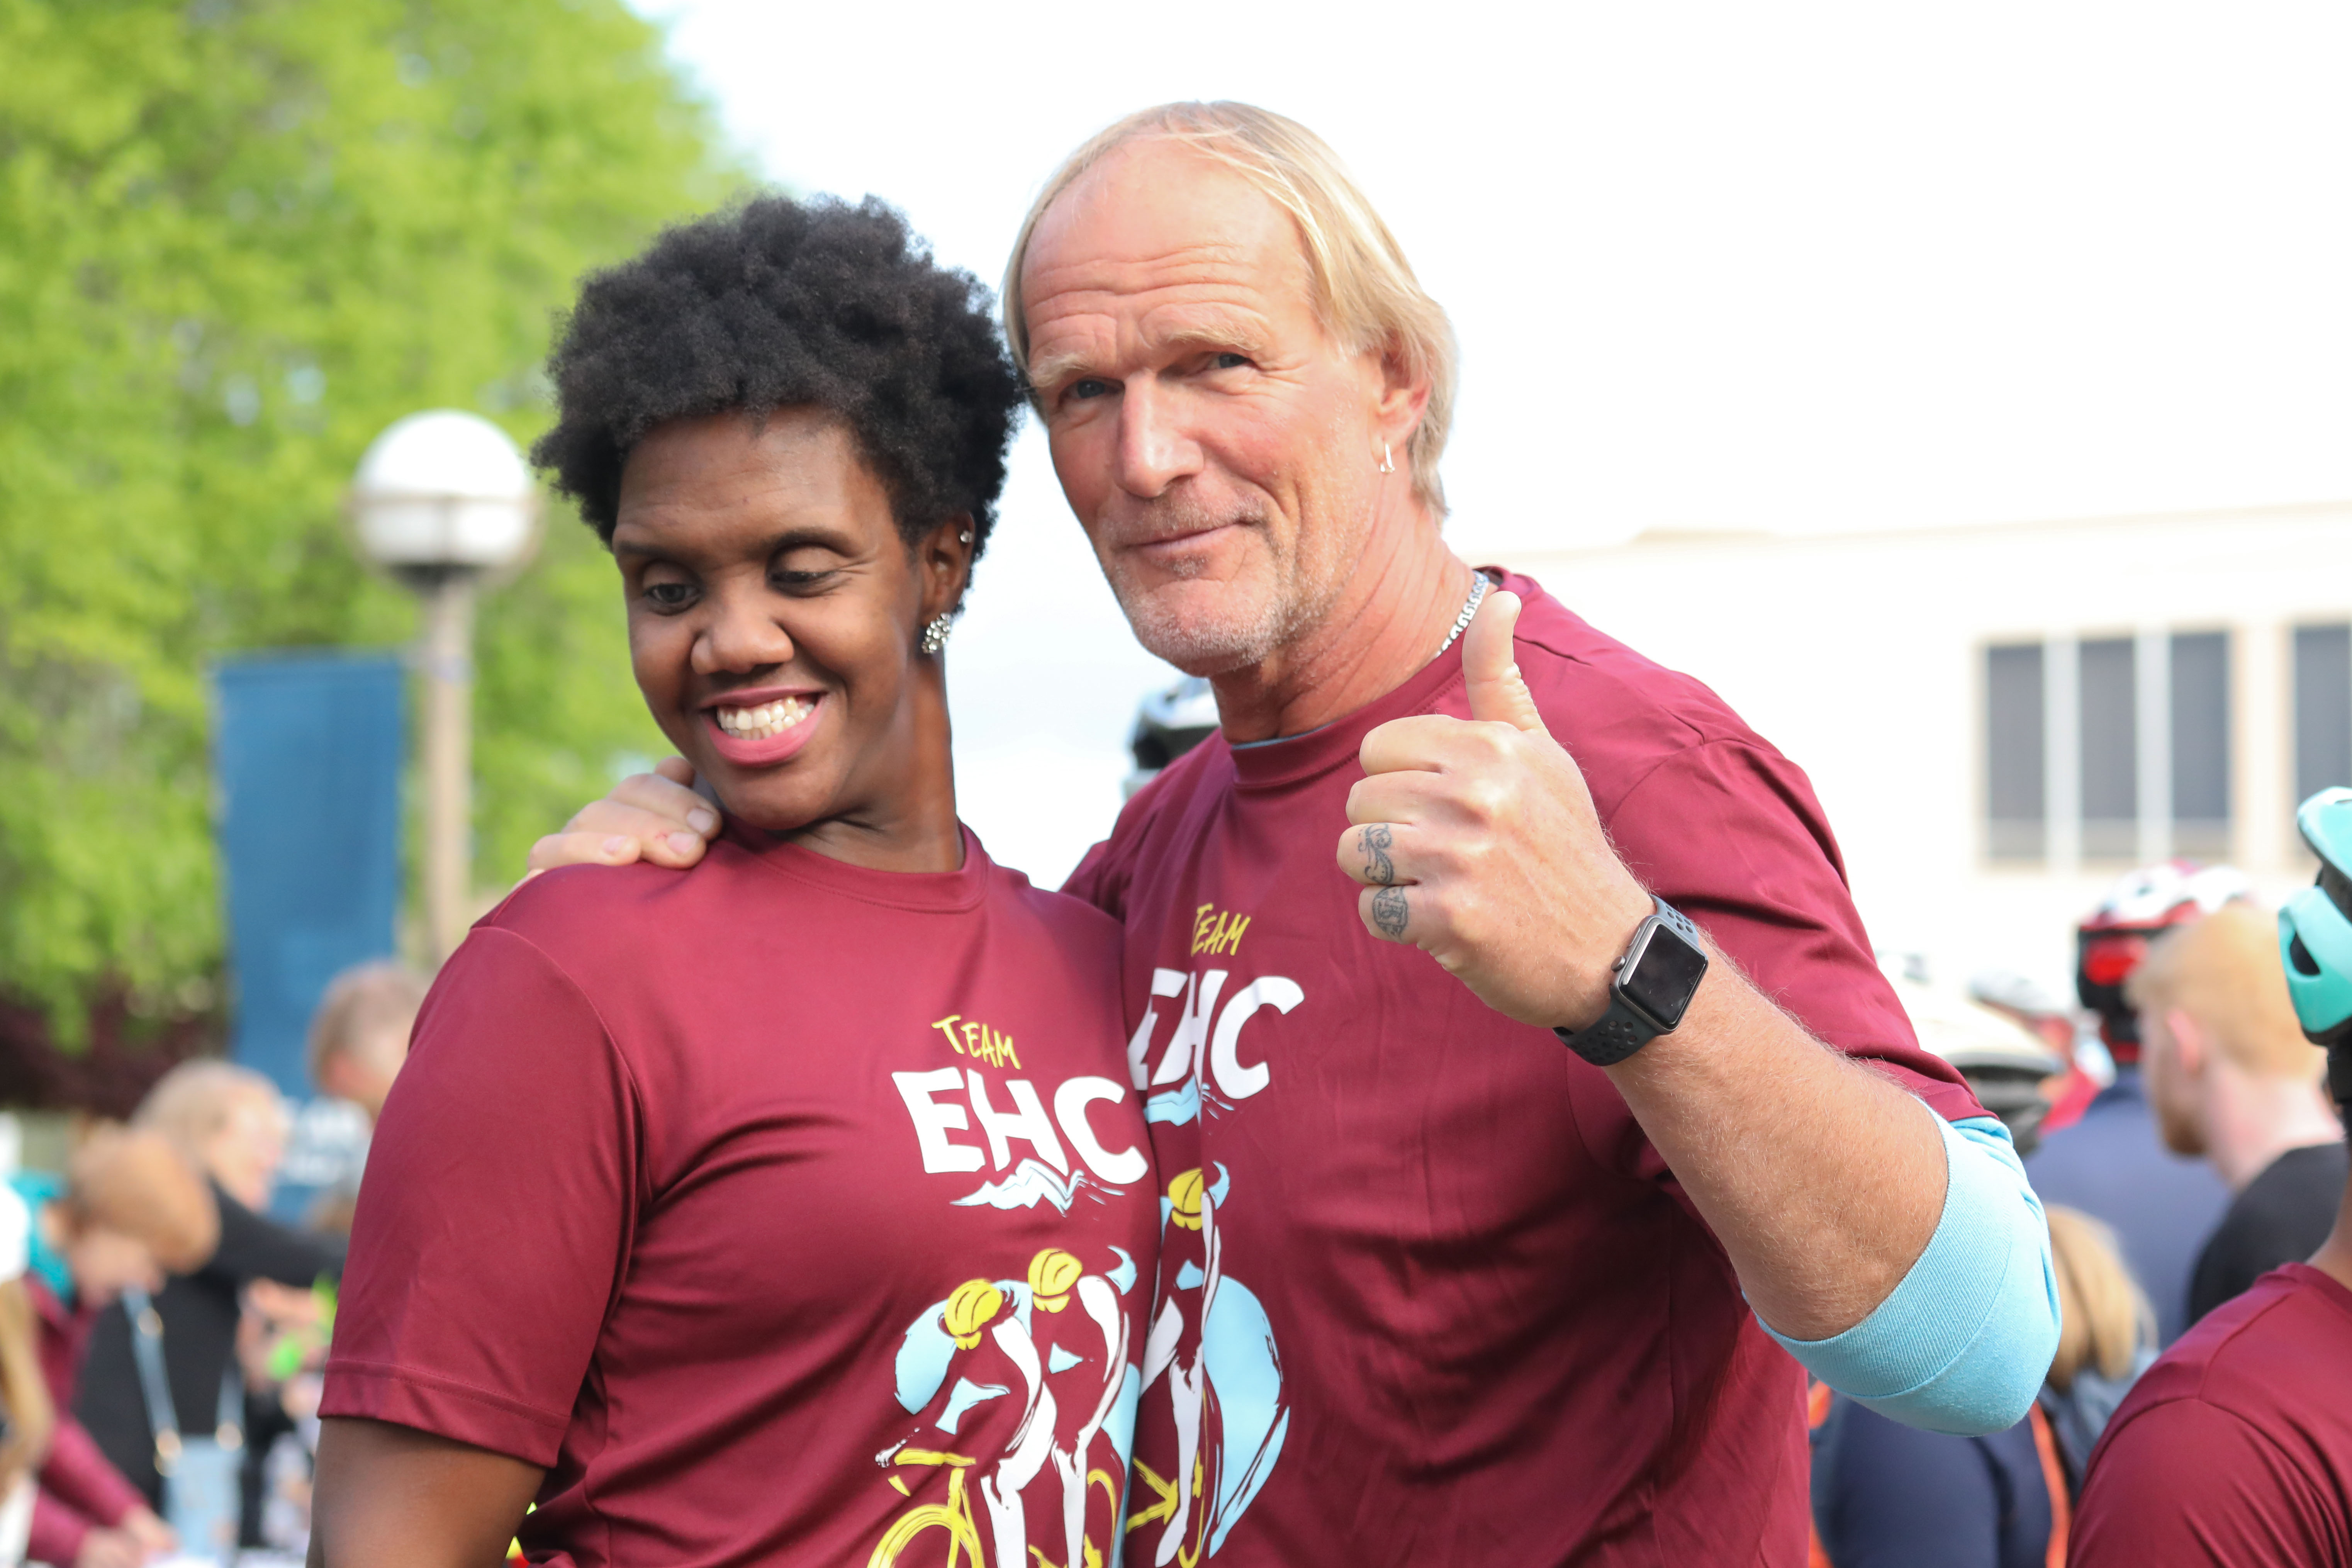
Ben and Bobbi smile and give a thumbs up, outdoors at the Cycle for Sight.
Riders, some blind, some sighted, wearing Earl Baum center jerseys gather, standing.
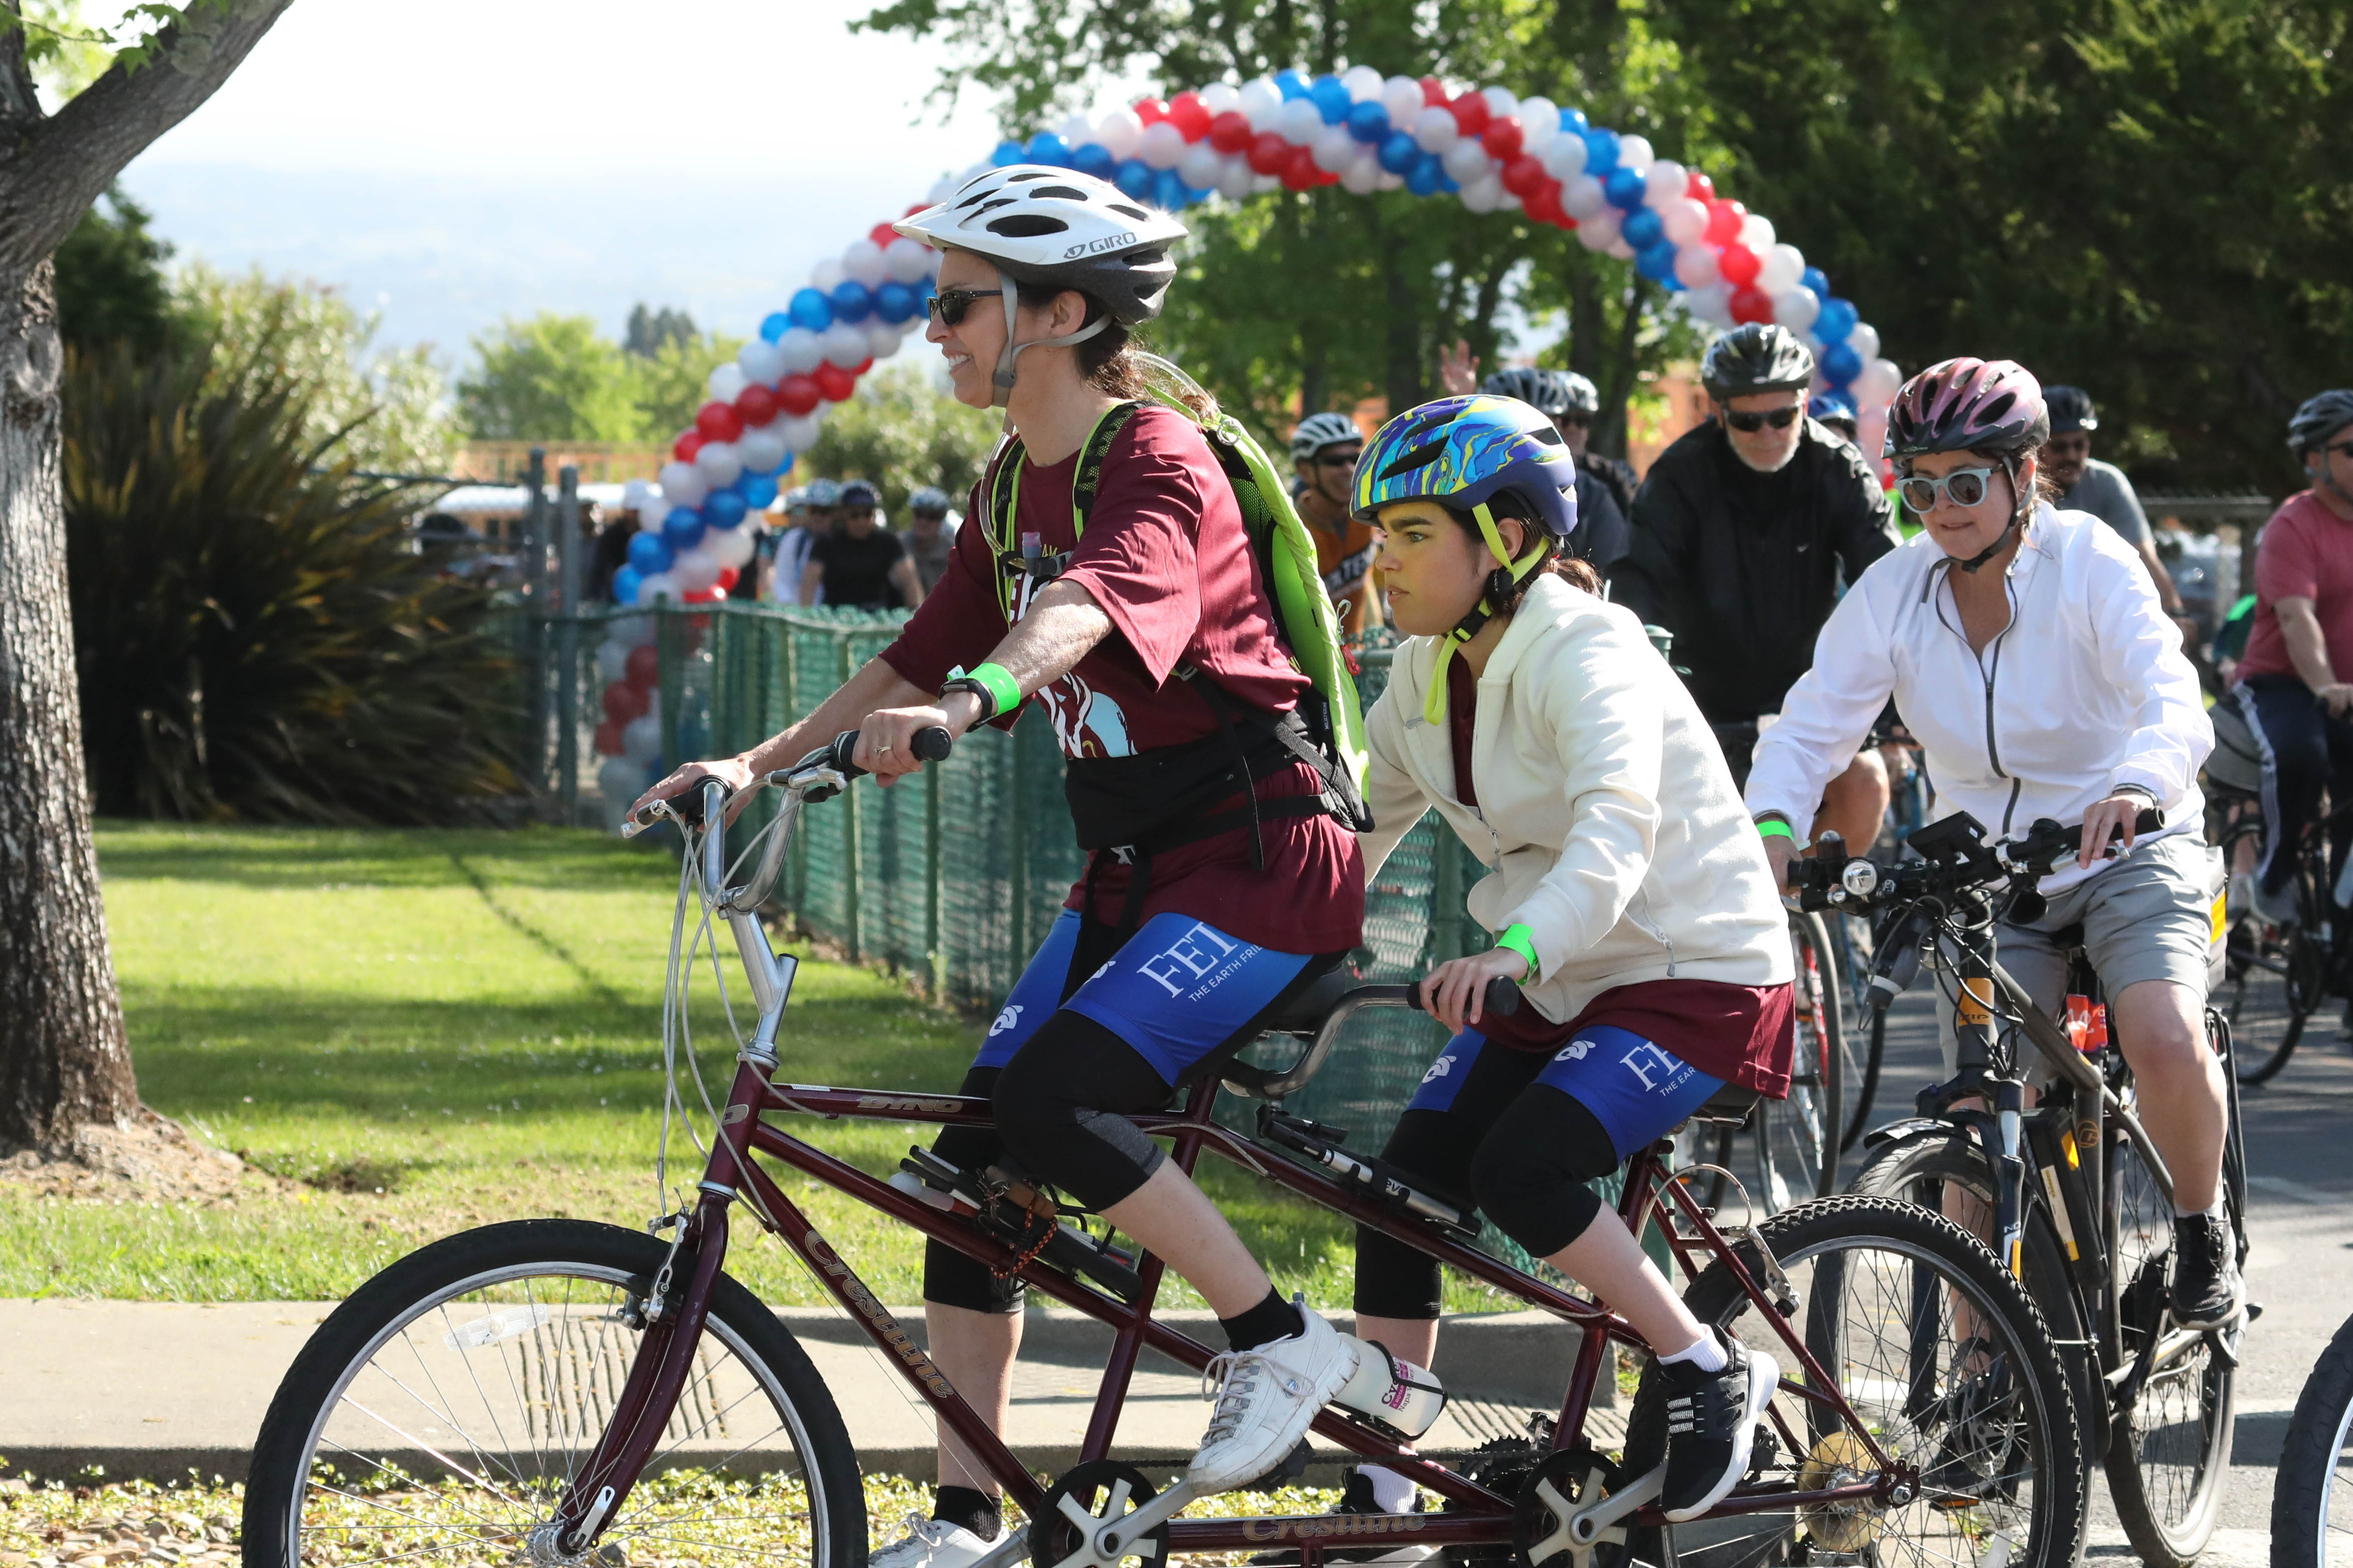
Maycie, a young woman who is blind, rides on a tandem bicycle with a partner, who is a middle aged woman.
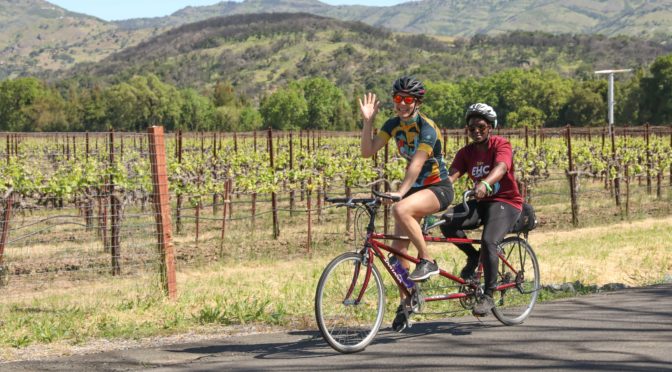
Volunteer Matt, a middle aged man, and Danny, who is teenaged and blind, ride together on a tandem bicycle.
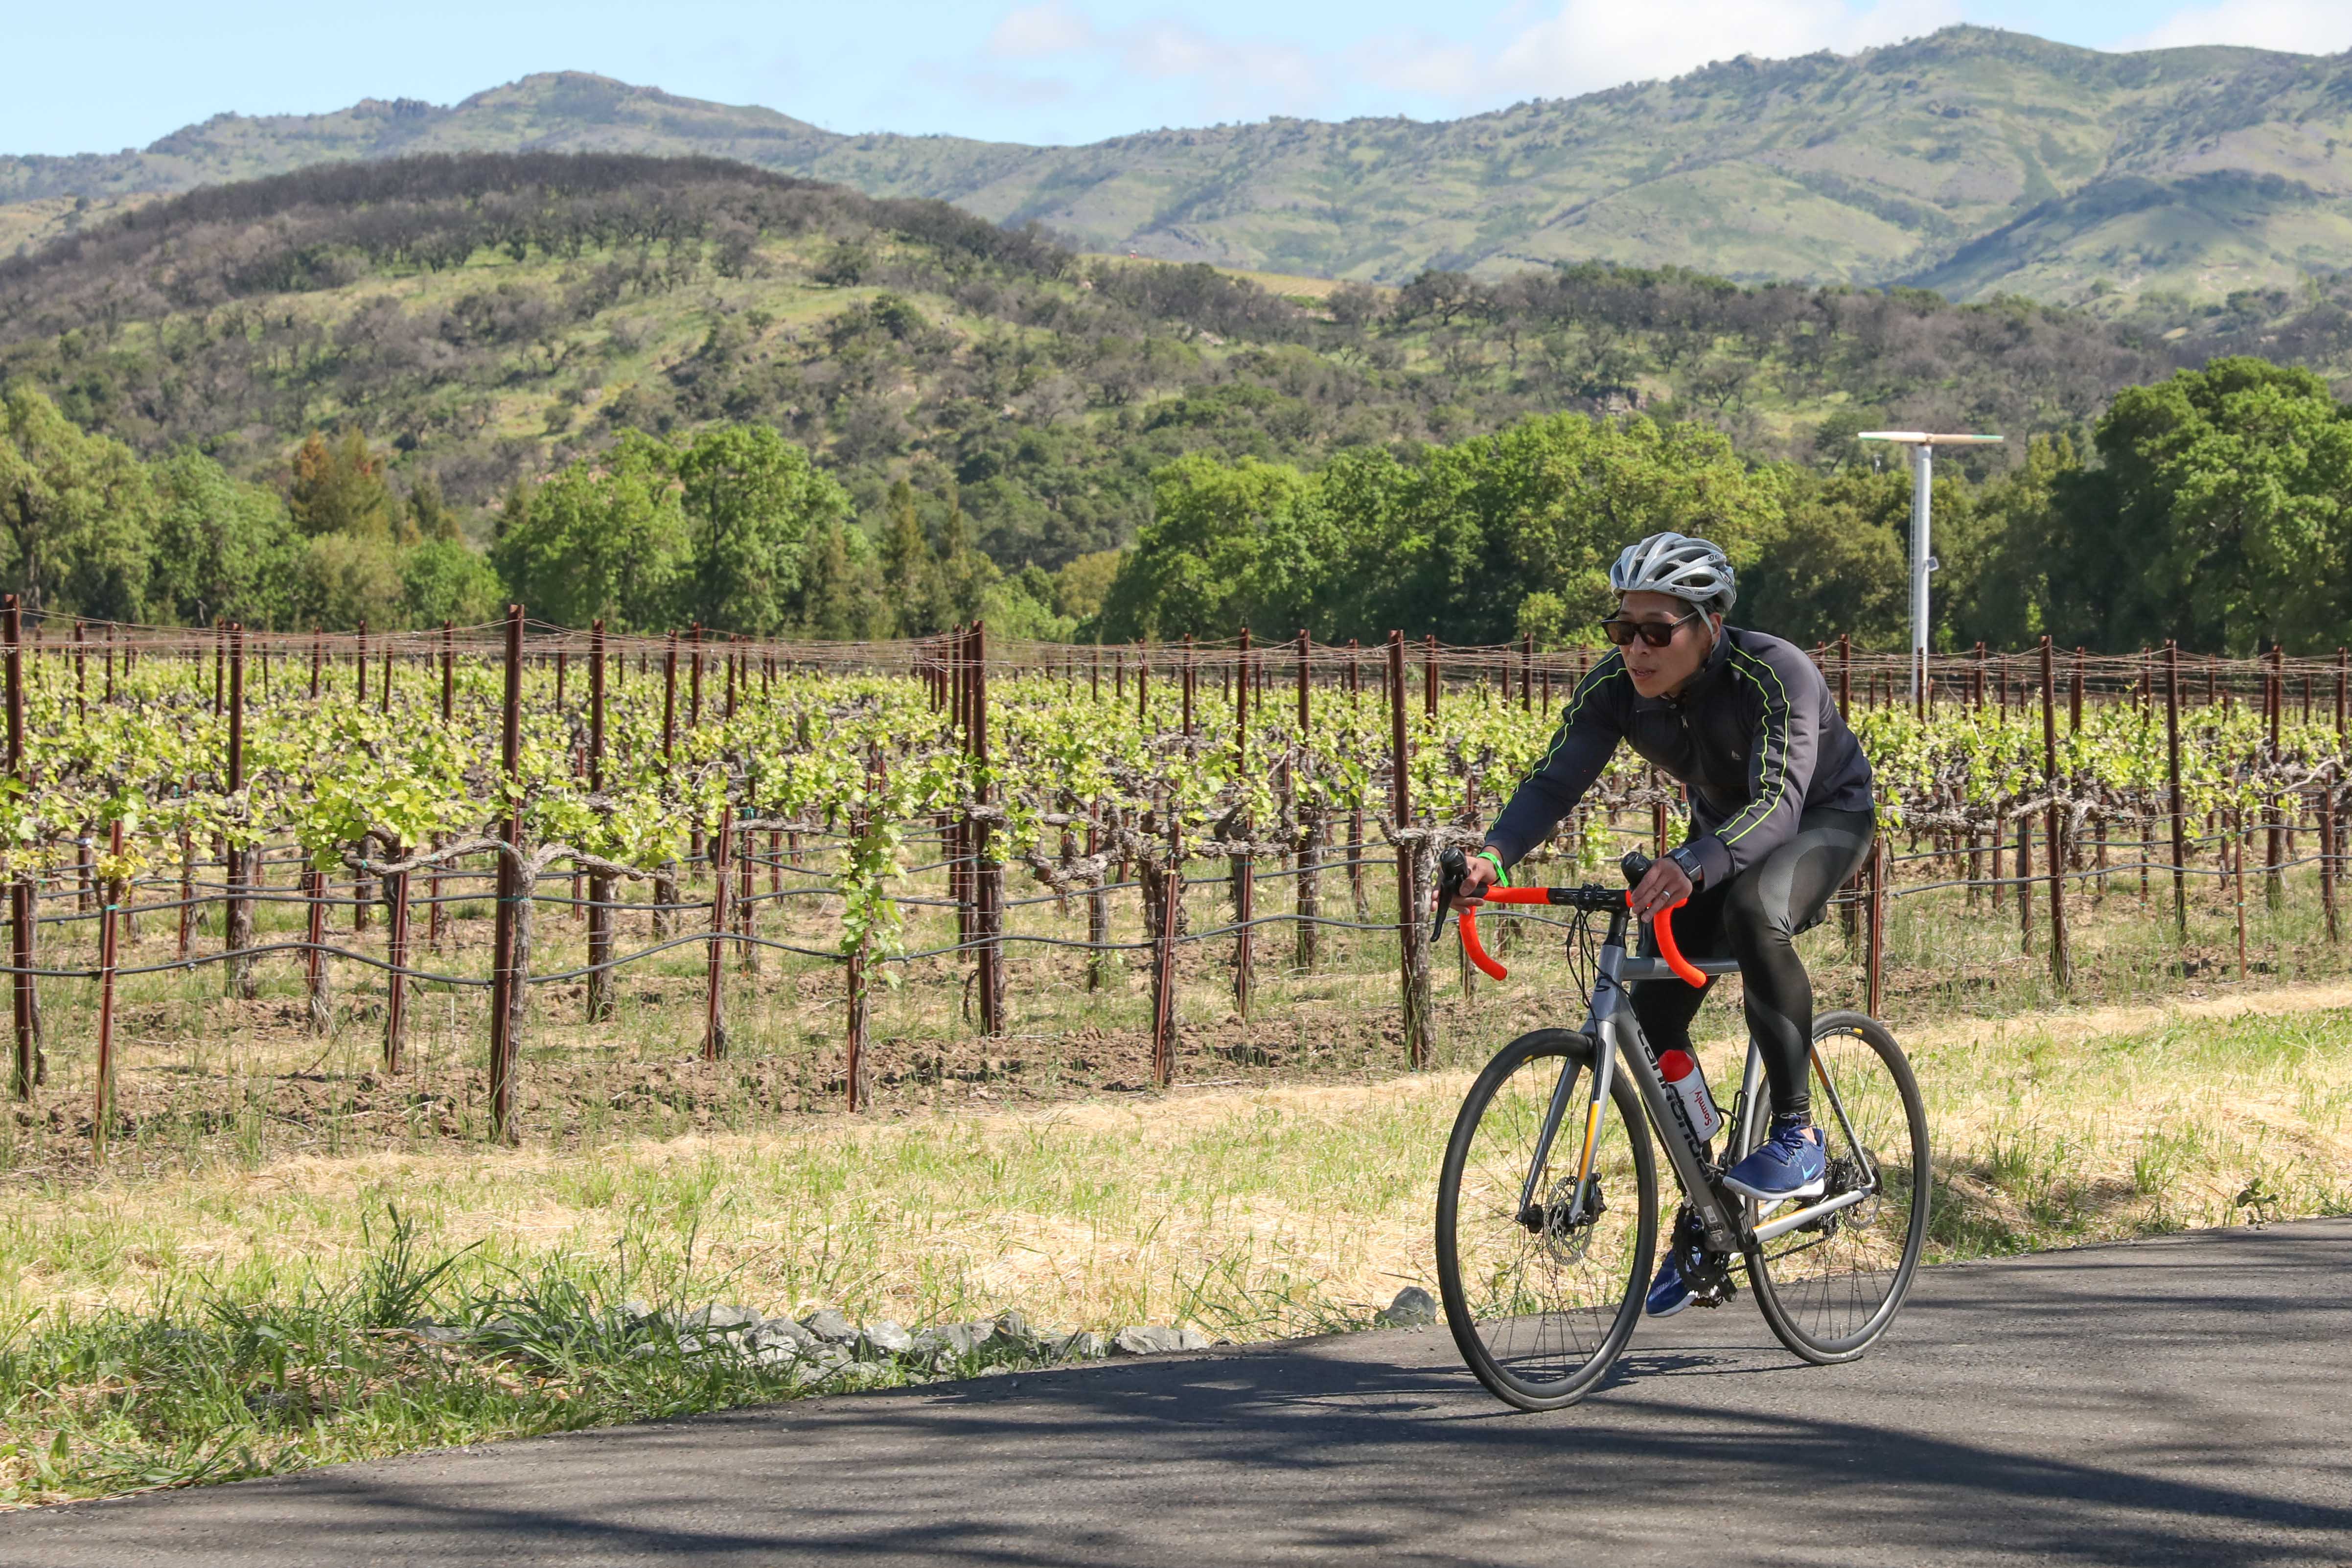
LightHouse Board member Eric Mah cycles past a gorgeous vineyard at the Cycle for Sight.
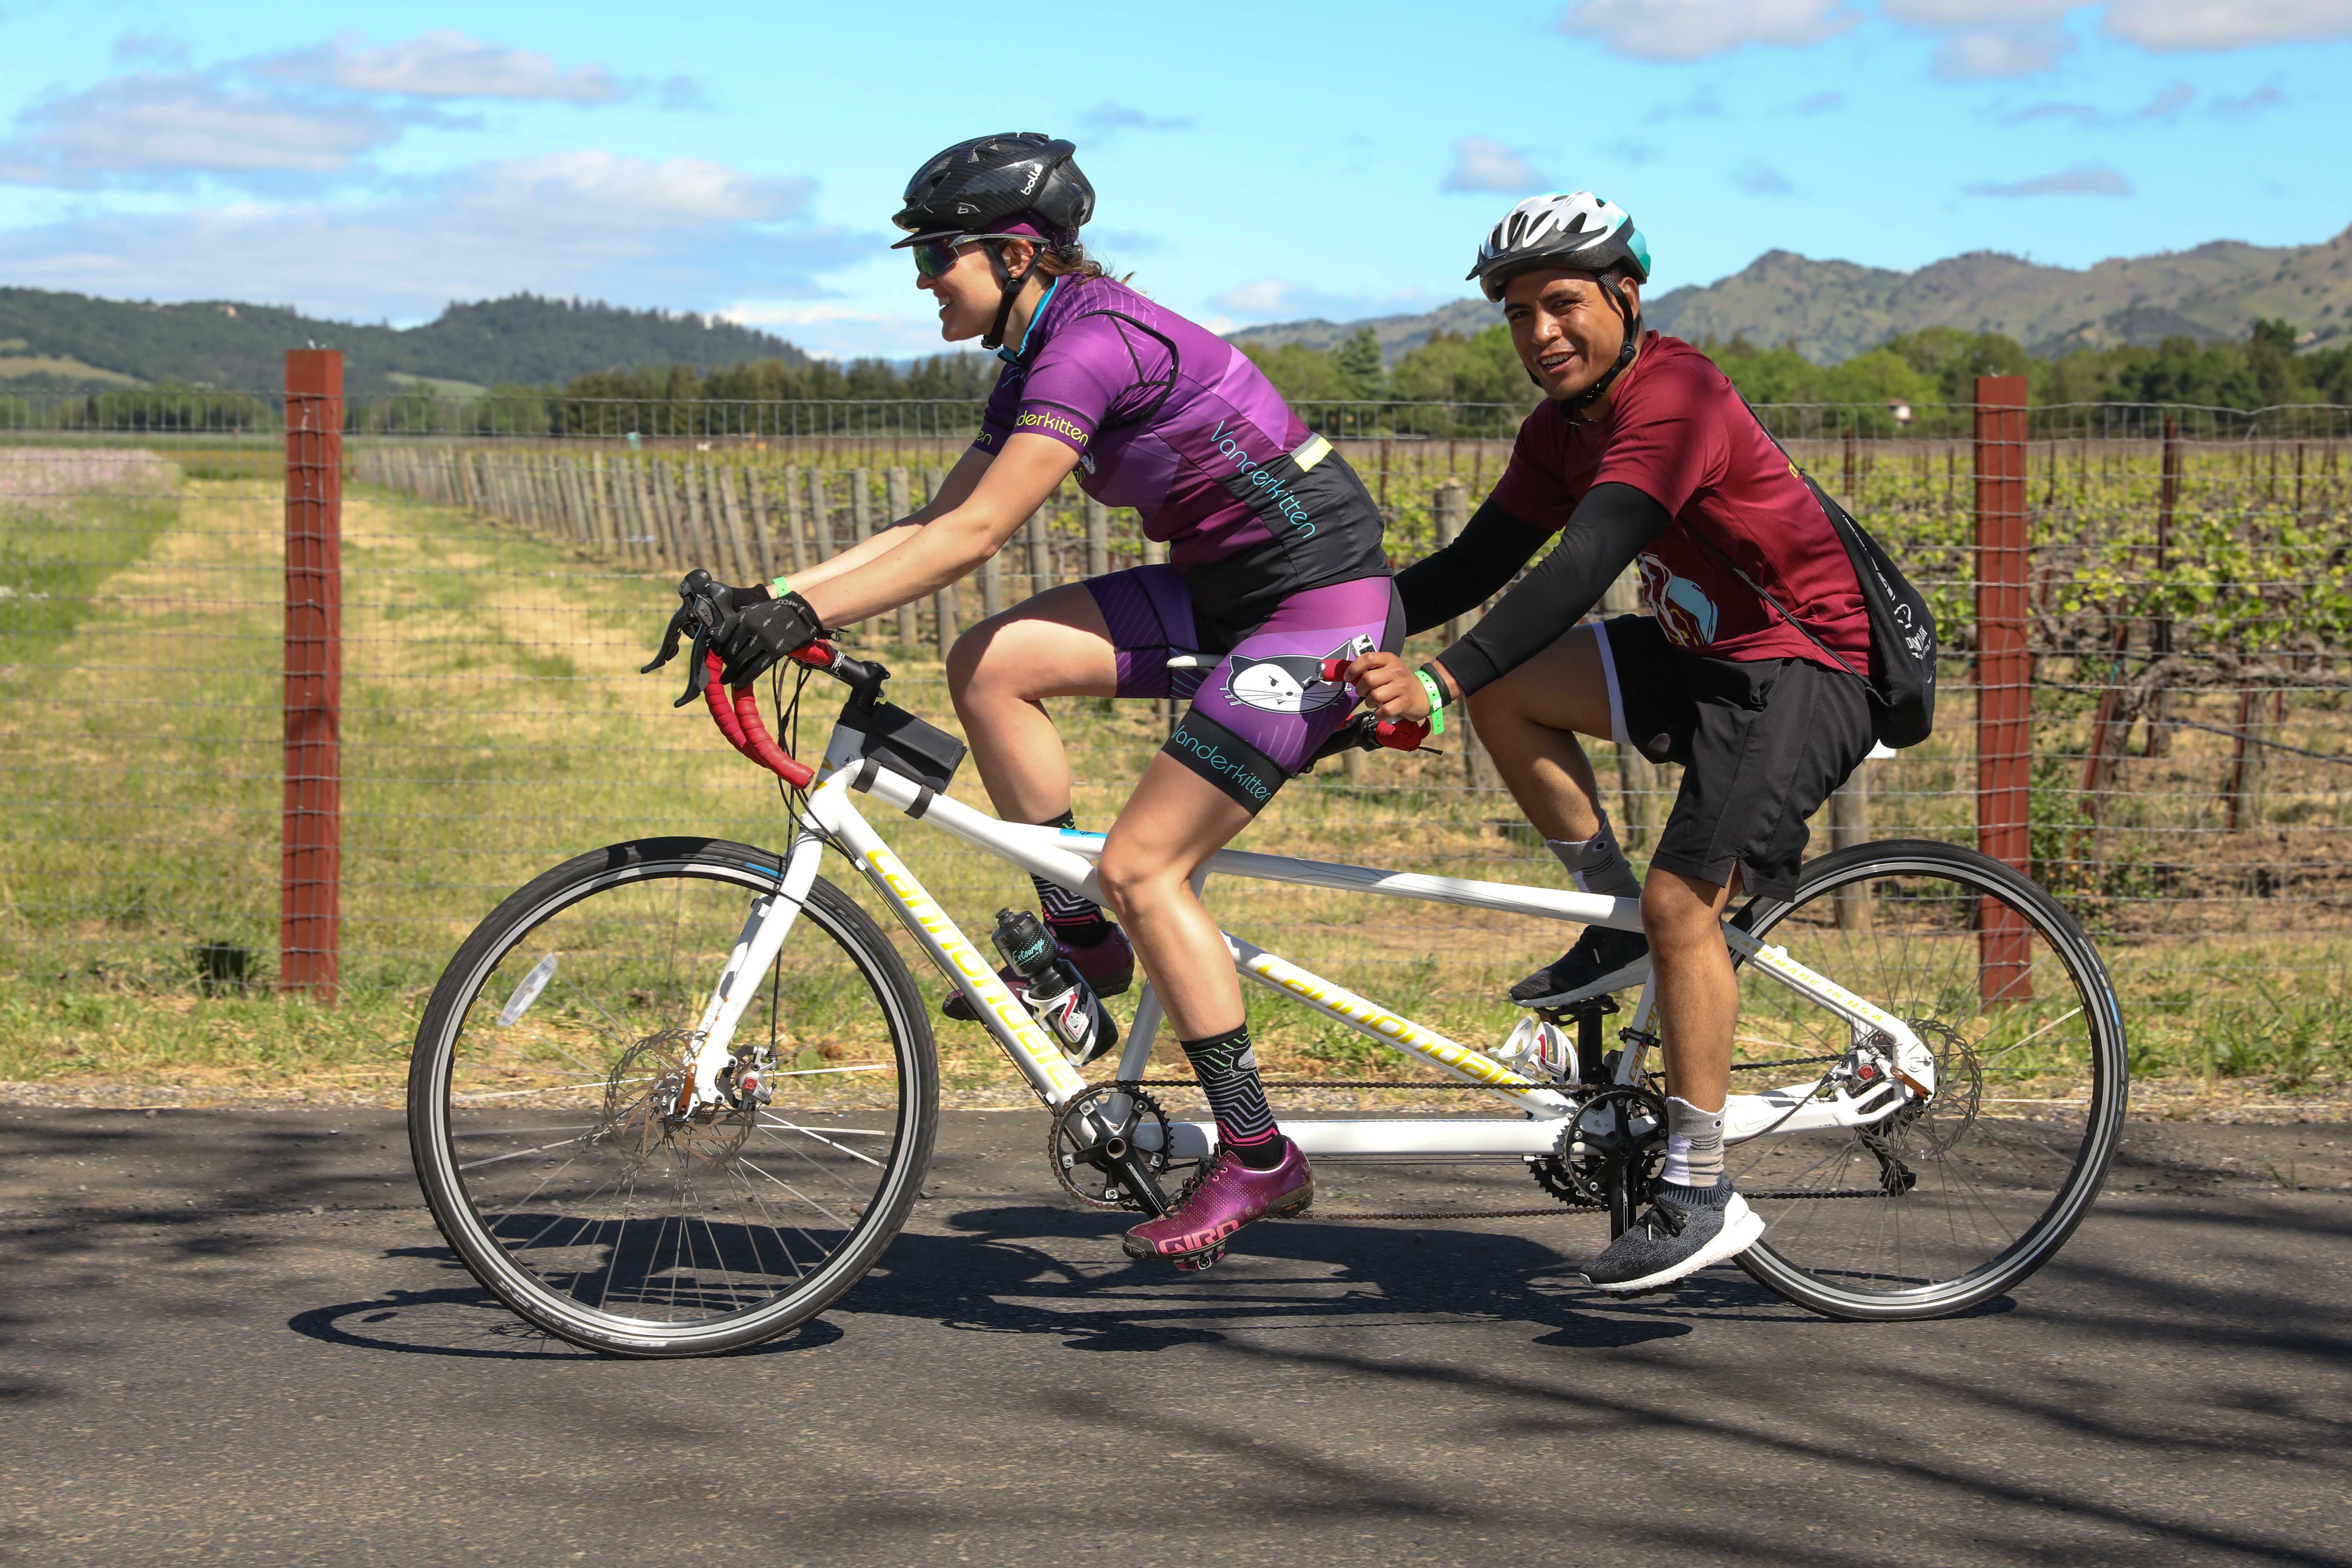
Tandem team Gabriella and Jeshua ride along a sun-dappled road in Napa.
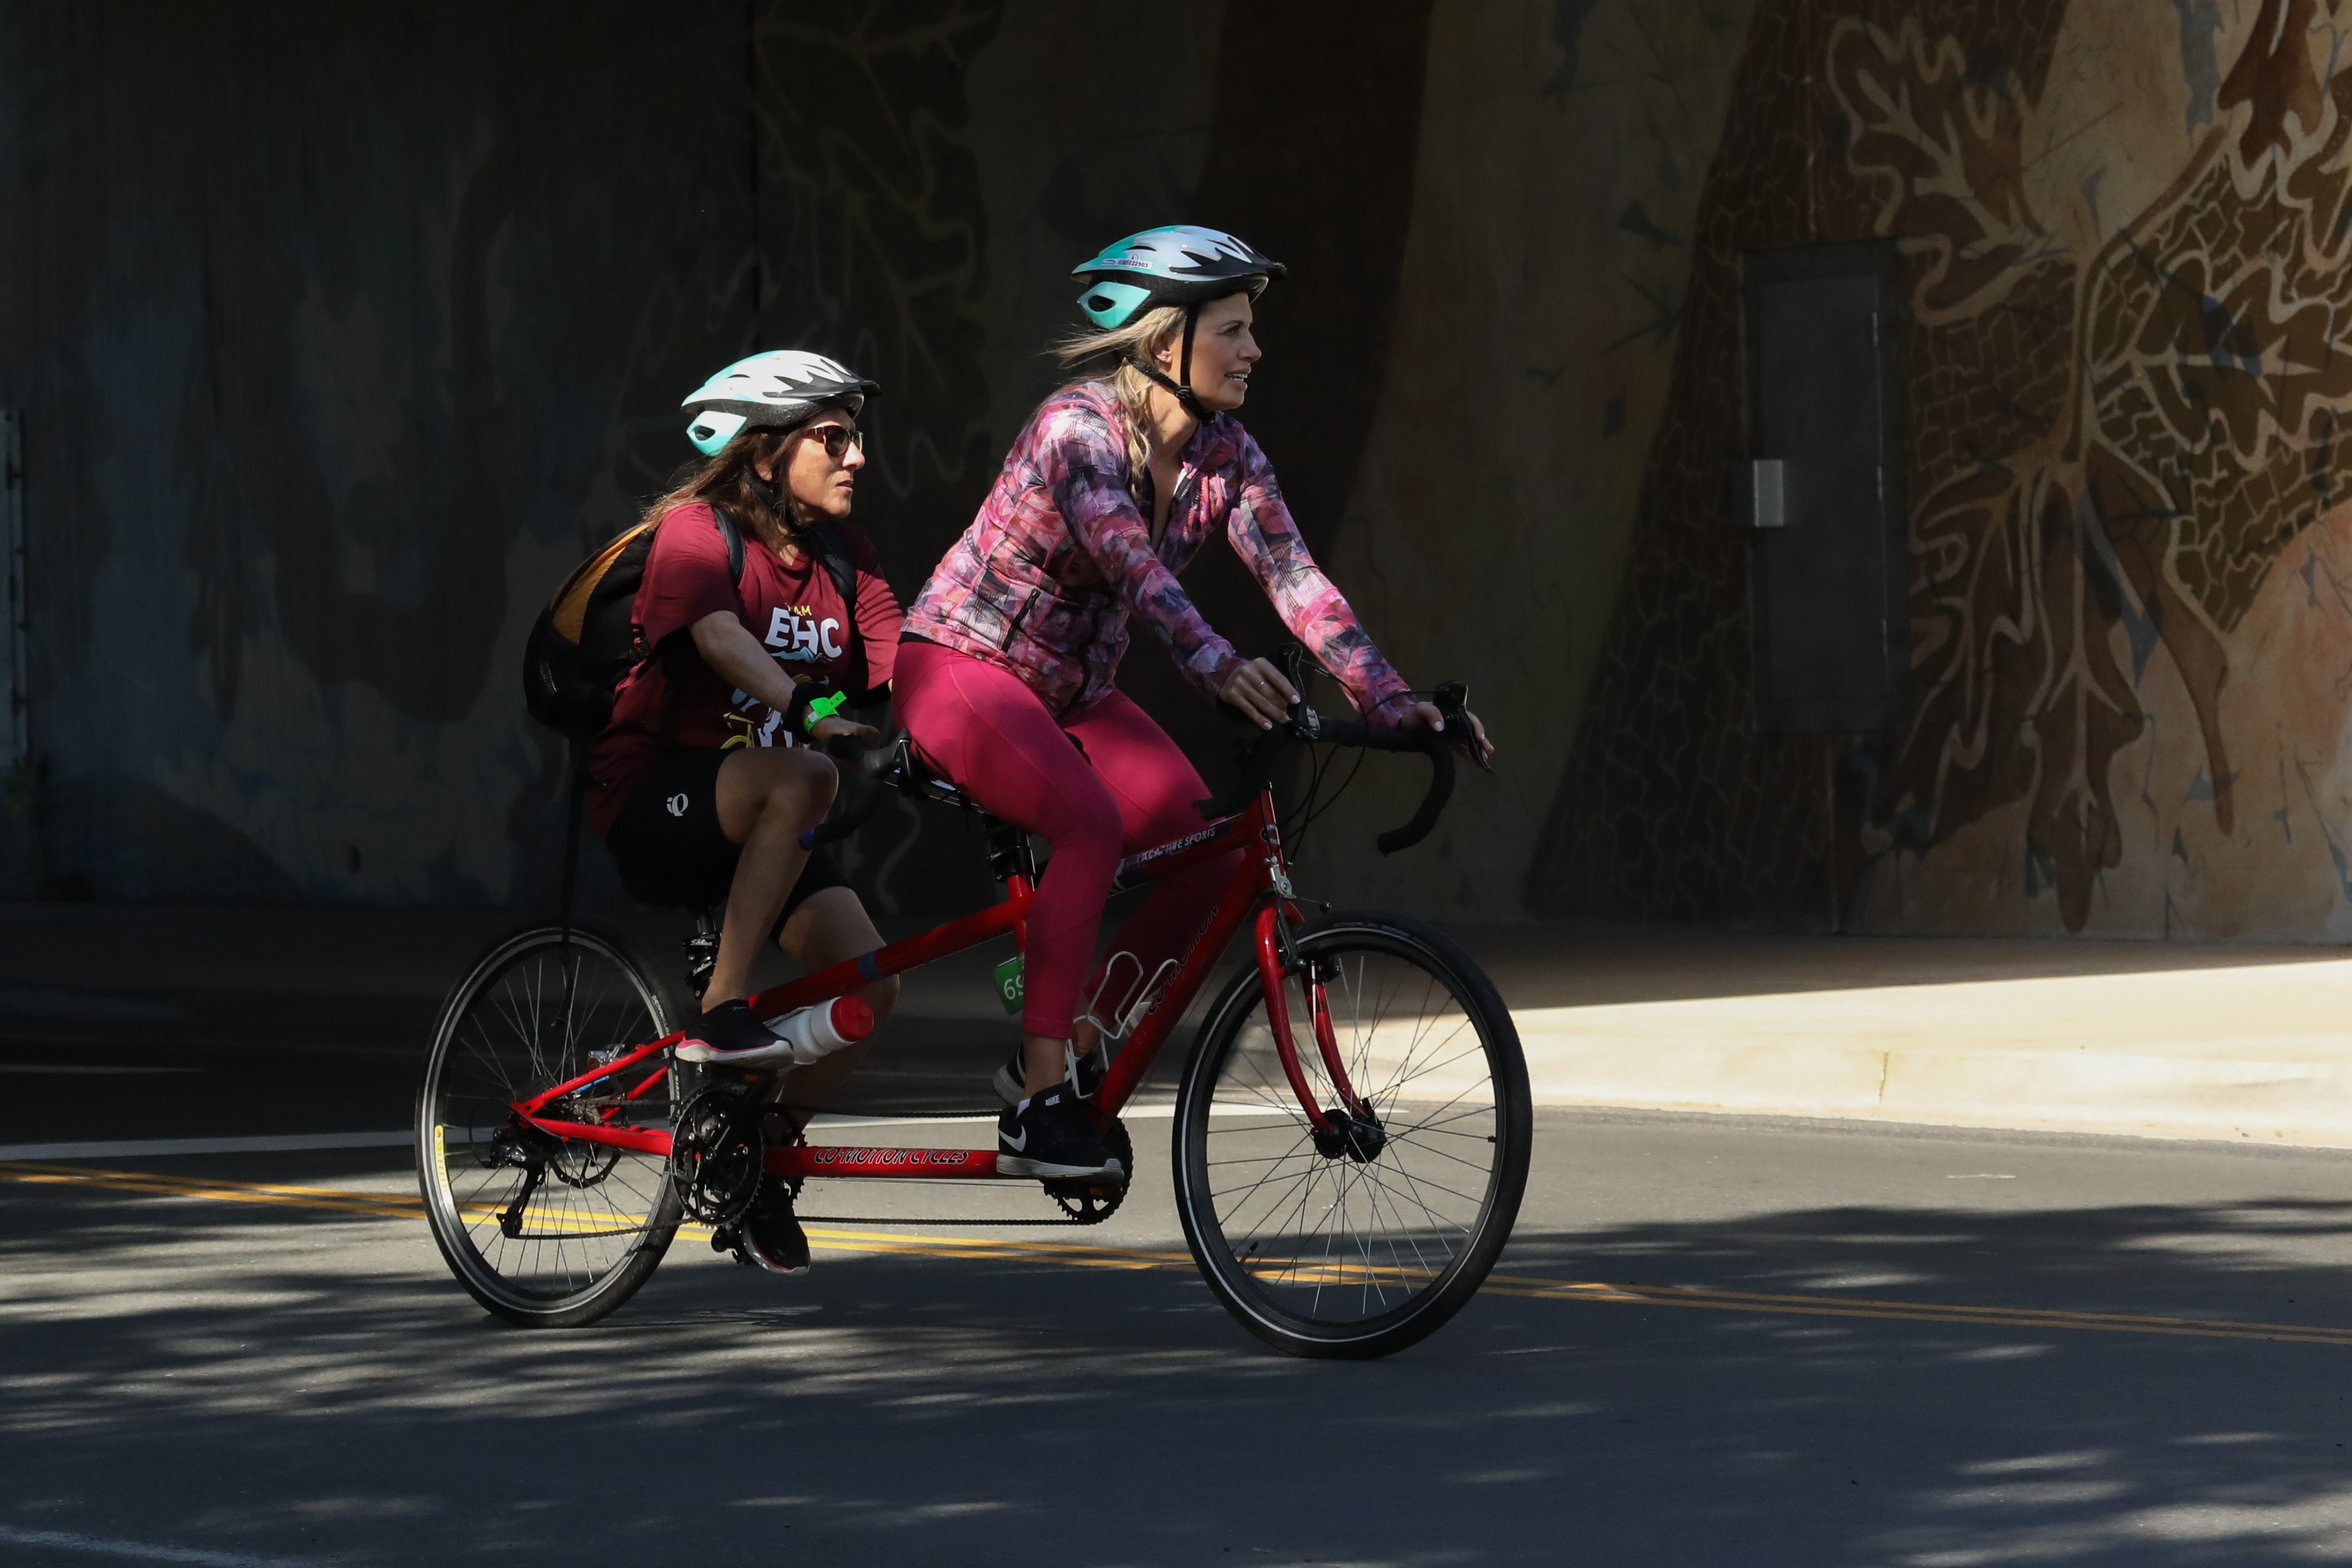
Jena and Rajia ride together on a tandem bike though a shady patch of the Cycle for Sight course.
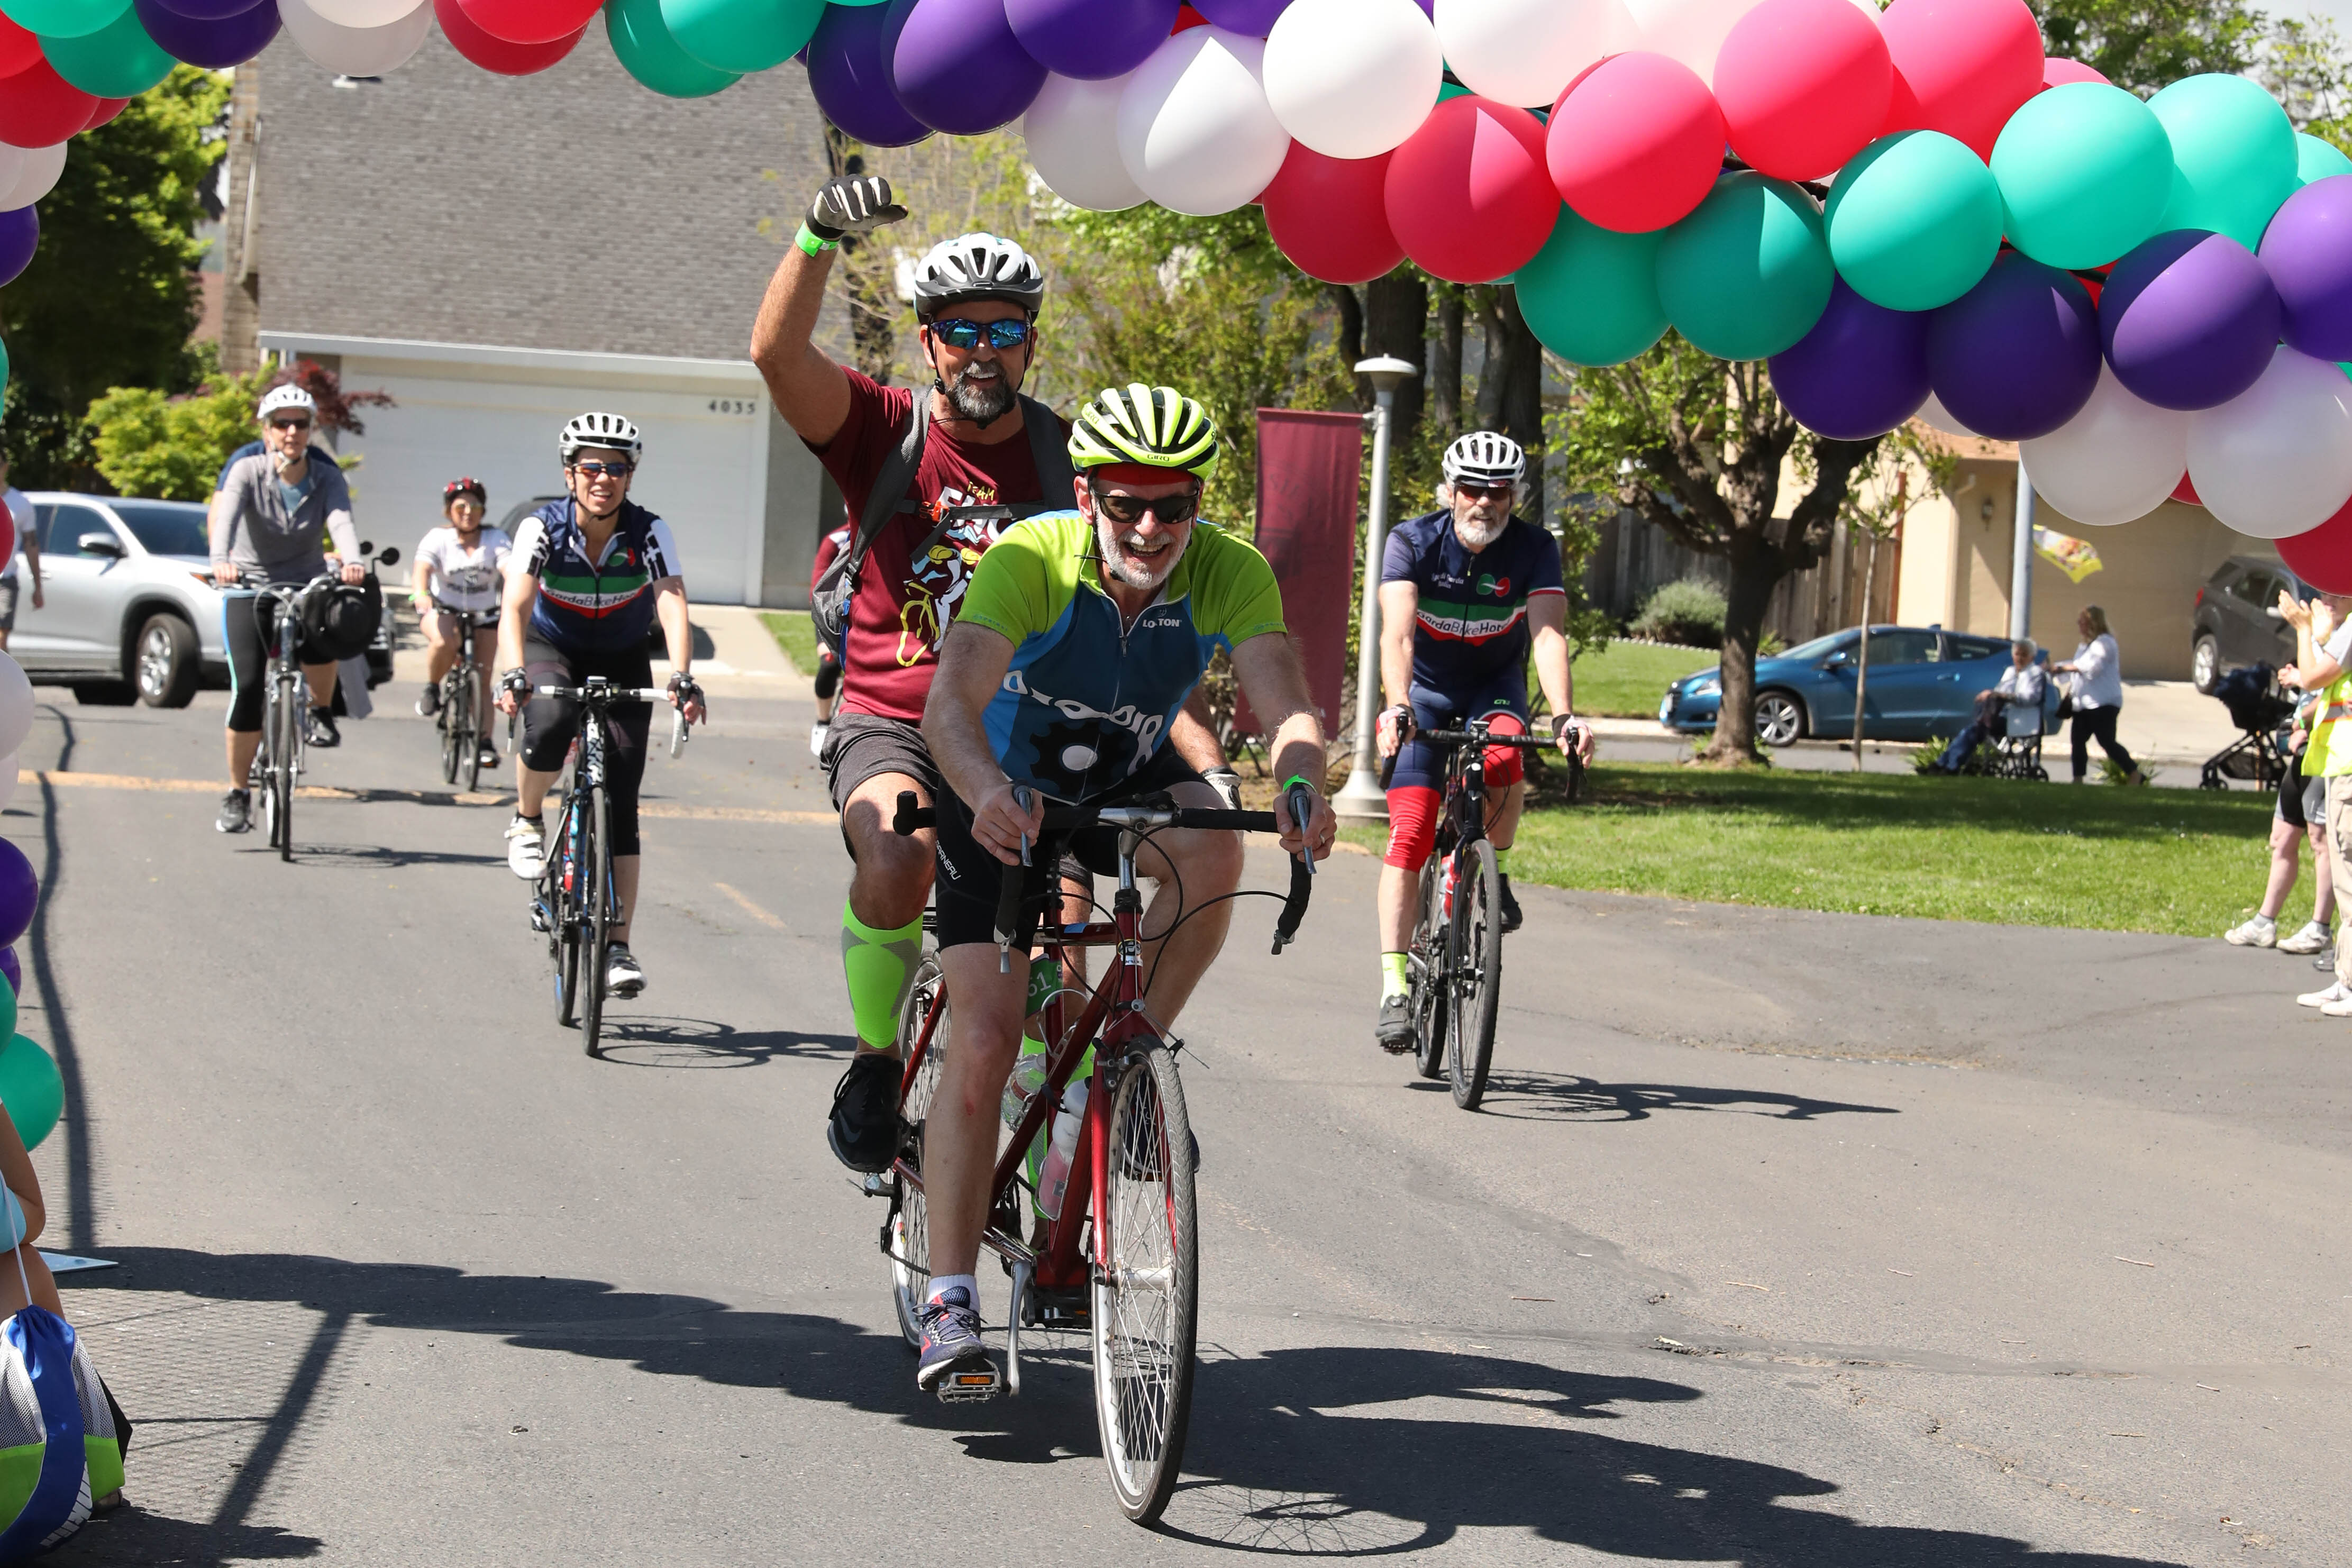
In the Napa sunshine at the Cycle for Sight, David and Edwin ride on a tandem bike among four other bikers under a string of colorful balloons.
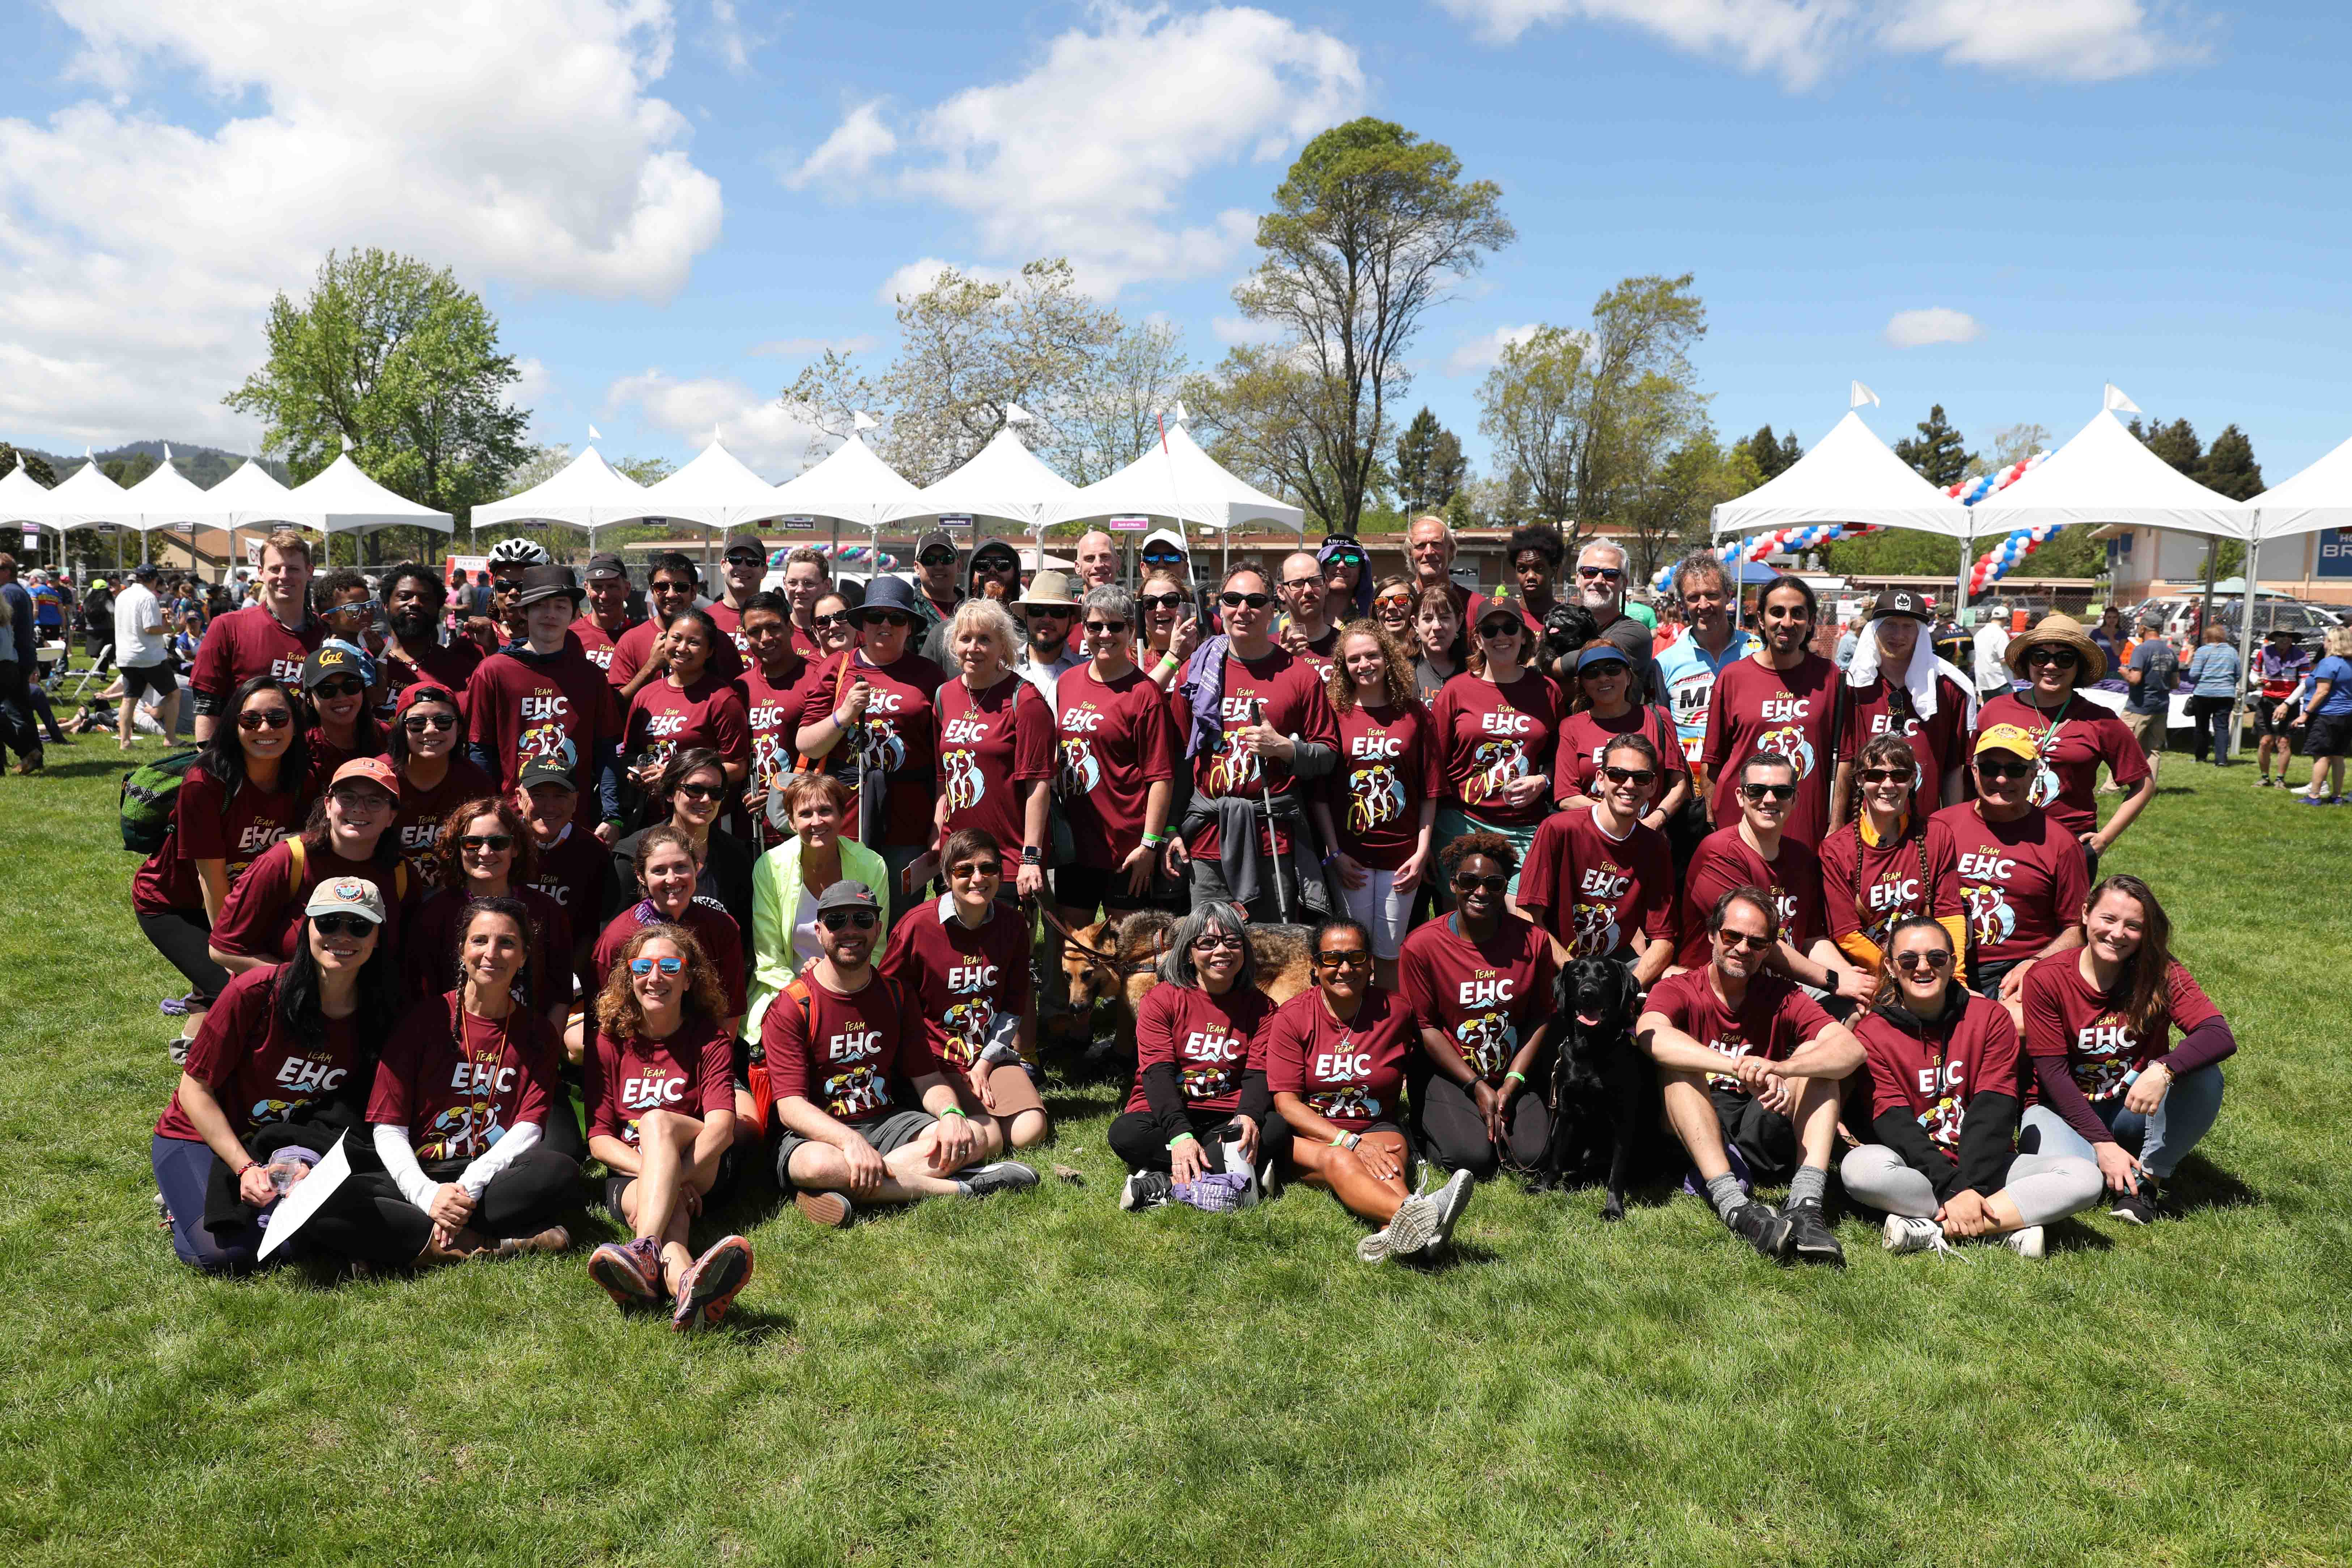
Members of Team Enchanted Hills pose and smile together after the race.
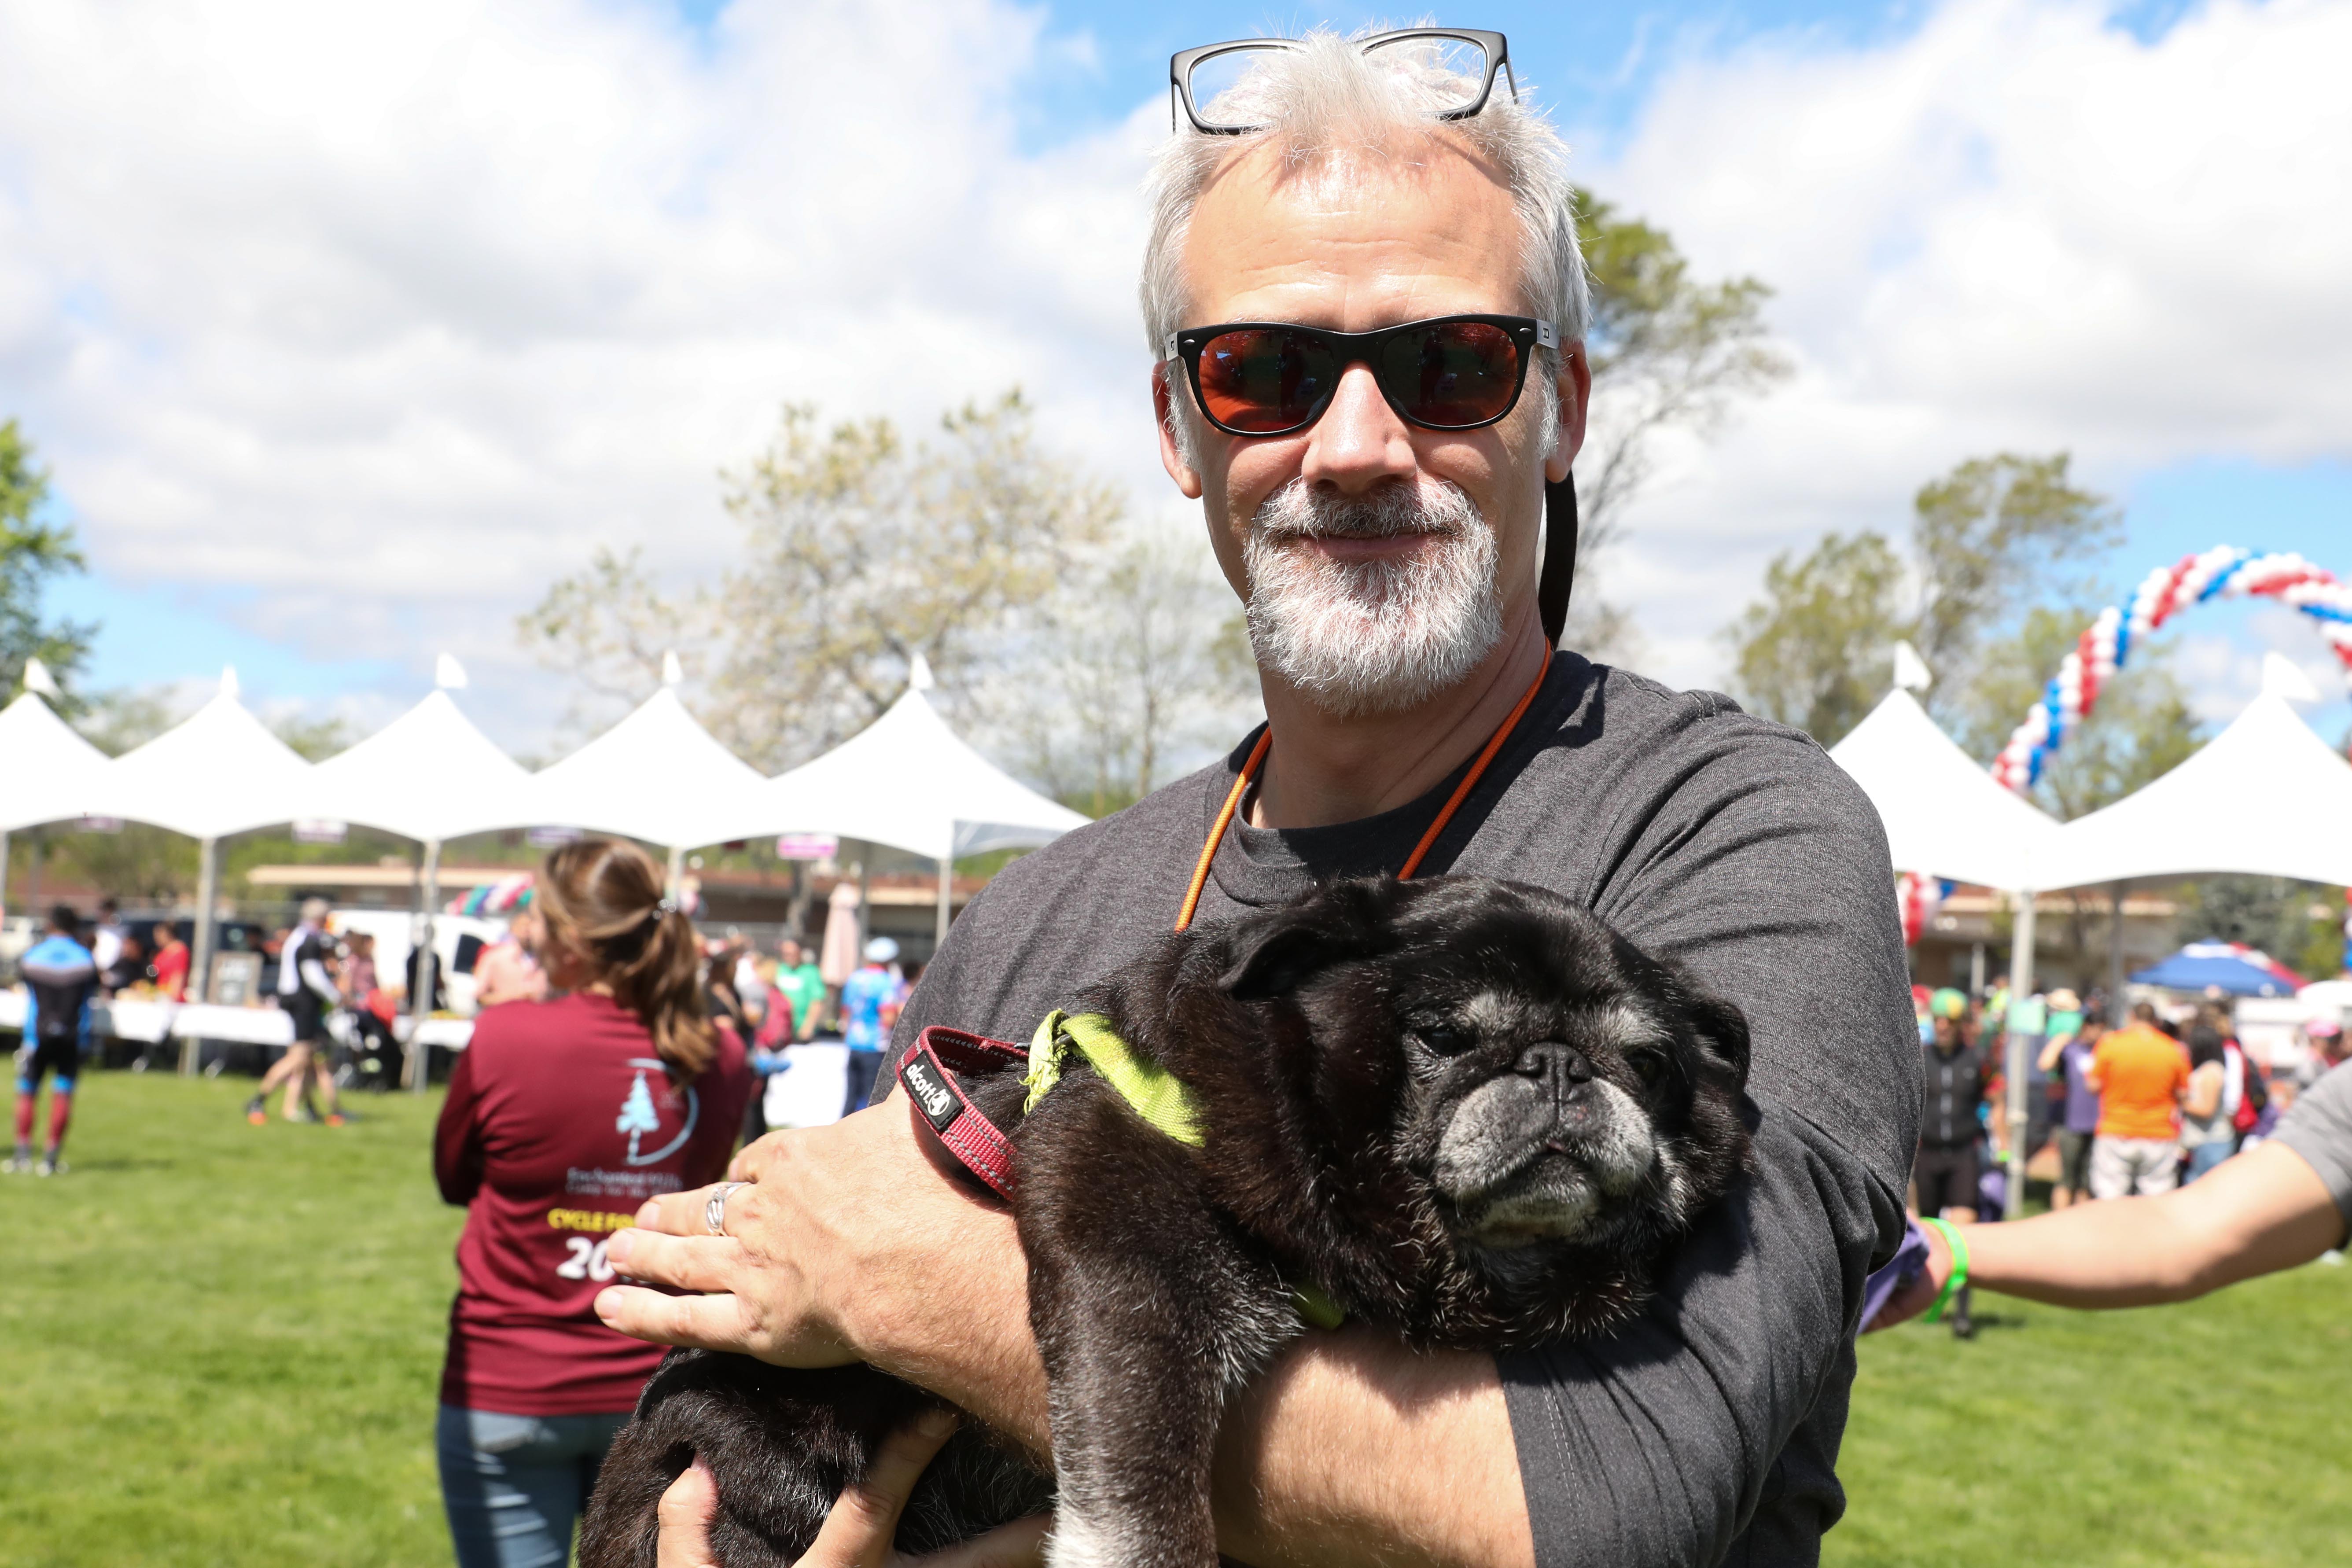
LightHouse Development Officer Paul Blaney smiles with his pet pug Seymour.
Happy Halloween! We’re bringing you tips on how to carve a pumpkin non-visually written by our Independent Living Skills Specialist, Bobbi Pompey. We’re also featuring photos from our pumpkin carving workshop earlier this month.
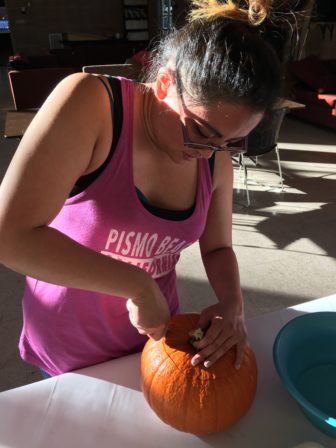
A young girl looks down at a pumpkin, secures the pumpkin with one hand and cuts into the pumpkin with her other hand.
Begin with the End in Mind!: Have a plan for how you want your finished pumpkin to look. Will it be happy? Scary? Round? Misshapen? All of this will affect which pumpkin you purchase, and how it will be designed.
Mise en Place: This French cooking phrase refers to having everything you need out and organized before beginning to work. For this project, you will need a serrated knife, a spoon/scoop, one or two bowls, tape/glue, materials to layout a template and any finishing touches.
Stay Safe: When carving the pumpkin, please remember to practice your knife safety skills! This includes using a sharp knife, cutting with the blade away from you, and putting the knife in a designated location when not in use.
What works for you?: The key to creating your design is making a tactual template that you can then cut around. This template can be made from a variety of of materials, you must decide what is best for you. You may want to use; masking/painting tape, pipe cleaners, wiki sticks, yarn, or paper folded in the desired shapes.
A hand sits atop a pumpkin with blue masking tape around the top circumference.
Let’s dive in, and carve that pumpkin! Steps are below:
Design your pumpkin. Tape or glue down your design materials in order to create a template for your design.
Cut a circle around the stem in order to form a lid. Cut with the knife at an angle, away from the stem, so that the lid will rest on the top instead of fall down into the pumpkin.
Scoop out the inside. Use your hands and a spoon or scoop in order to scrape out the guts and seeds of the pumpkin. Separate the seeds if desired for later use.
To toast the seeds: toss them in oil or melted butter, add salt and seasonings if desired. Spread them evenly on a baking sheet, and cook in a 300 degree preheated oven for approximately 45 minutes.
Decorate and display! You can place a battery operated tea light candle in your pumpkin to add light to your design, cover the openings with colored tissue paper to give your pumpkin a festive glow, or surround it with pumpkins of other sizes, a candy bowl, pine combs or greenery as finishing touches.
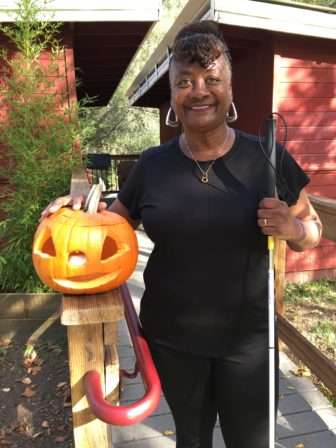
Gail “Sunshine” in front of her cabin at EHC, with a new cane and carved pumpkin for her grandson.
Recognize Your Skills: Once your pumpkin is complete, take a moment to recognize all the skills you used in order to make it happen and think about how you can transfer them to other areas of your life. It is likely that you used; knife skills, knife safety, tactual awareness, shopping skills (traveling to the store, money management, personal grooming, clothing management, etc.), organization, problem solving, critical thinking, creativity, and more!
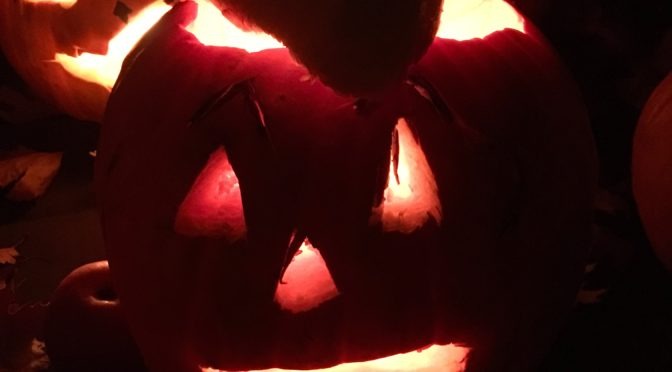
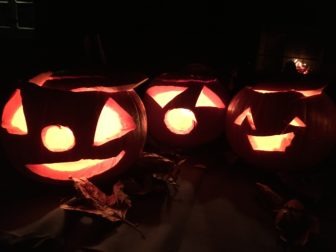
An array of carved pumpkins glow in the dark.
If you would like instruction in carving a pumpkin or any other independent living skills, feel free to contact Bobbi Pompey, ILS Specialist, at bpompey@lighthouse-sf.org or (415) 694-7613. Independent Living Skills include: cooking, labeling/organization, clothing management, personal grooming, make-up application, cleaning, accessing print, low vision devices and other everyday skills.
Click here for our cleaning product safety data sheets (SDS) and ingredient information.